Who is a naturalist?
It doesn’t take much to be a naturalist – anyone can be one! A naturalist is someone who enjoys spending time in nature, exploring aspects of the natural world, and making observations about the things that they see. Does that sound like you? If so, you are a naturalist! A naturalist is CURIOUS, EXCITED about learning and discovering, and RESPECTFUL towards all living and non-living beings in the world.
What do you need to be a naturalist?
Your most important tools are the senses you have available to you. Those senses may include: SIGHT, HEARING, TOUCH, SMELL, and TASTE. You can use these “tools” in so many ways to observe your surroundings and to discover patterns in nature!There are some other tools that naturalists bring with them to investigate nature more closely. Many of these tools can fit right inside a backpack, meaning that you can take them anywhere!
Safety first!
Before we talk about WHAT you can bring on your adventure in nature, it’s important that we go over a few things to help keep you and the environment safe.
- During Corona Virus Shelter-in-place orders: maintain a safe distance of 6 feet and explore the outdoors close to home rather than traveling far away.
- Some essentials to pack: appropriate layers depending on the weather where you live, water to stay hydrated, a snack to fuel you through your day, and a first aid kit. If you’re going for an adventure further from your house, these things are very important!
- Kids – make sure to take a trusted adult on your nature exploration.
- Avoid touching, picking, or eating plants that you are not familiar with. Even if you think you know what something is, it’s important to ask an adult and get an I.D. confirmation first. Never attempt to touch or approach a wild animal.
Journal and Art Supplies
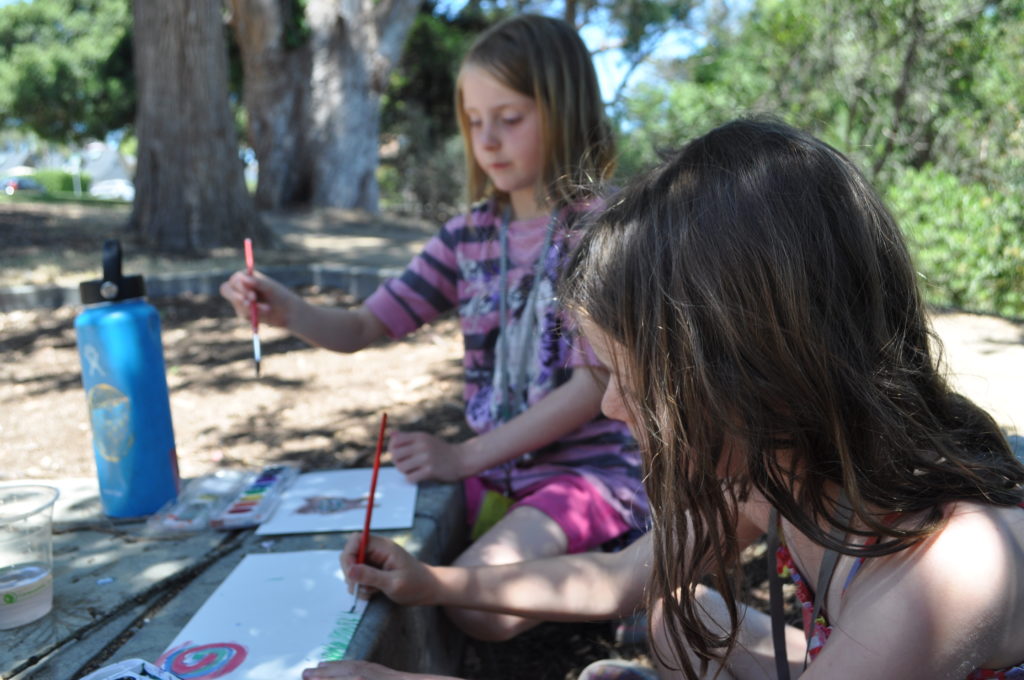
A great place to start is with paper and pen or pencil. An important part of being a naturalist is taking notes and recording the things you see!
Why do you think it’s important to record observations in this way?
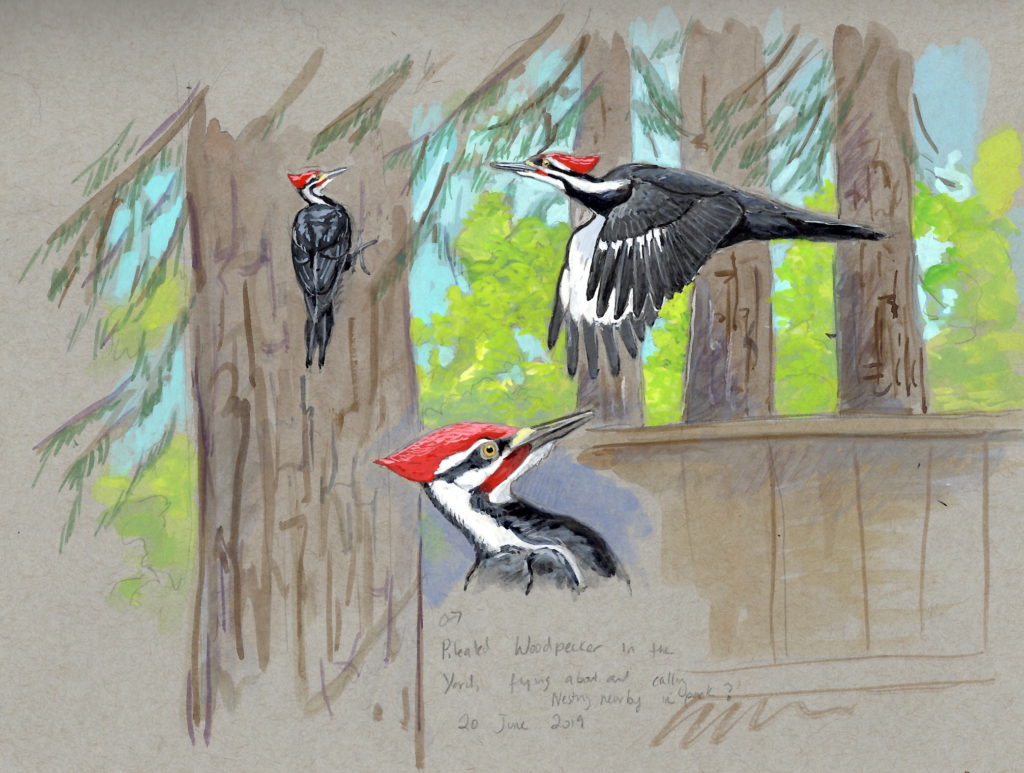
If you like to draw, you can take your favorite art supplies with you to make sketches of the things you see. There is no wrong way to nature journal! Ask questions in your journal, get creative, make graphs – it’s up to you!
If you’re stuck on what to write about, you can try “I Notice, I Wonder, and It Reminds Me Of”. All you have to do is choose something you see in nature and finish those sentences based off of the observations that you’re making with your senses!
Some good resources to help you with nature journaling:
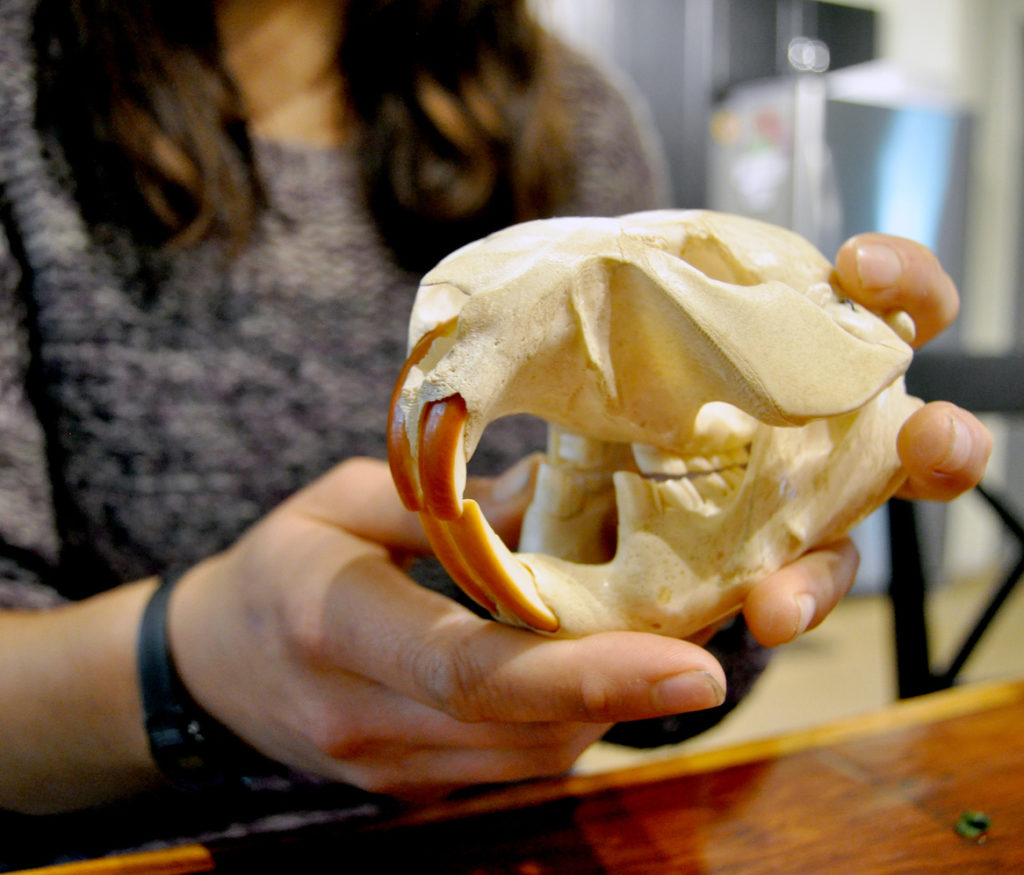
What’s That?
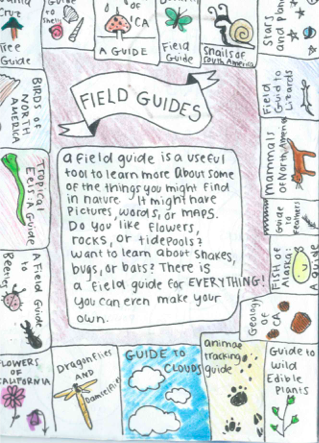
Have you ever been on a walk in nature, saw something AMAZING , and wondered, “What IS that?”. This is where field guides come in handy! A field guide is a book or handout that helps you identify things that you can find in the natural world. There are so many field guides out there in the world – whatever you are interested in, there is definitely a field guide for it!
Field guides are great to use after you have spent time with your organism, making observations about what you notice about it. They can tell you the name of the organism as well as any other cool information about it!
There are a lot of helpful books to get you started on your identification. Field guides can be foldable pamphlets, too – easy to carry around in a backpack! There are also so many field guides online that you can download to either print or view. You can even create your own field guide!
Look Closer!
Up close or far away – there are a lot of tools we can use to help us focus our eyes on the things we see in nature! Here are just a few.
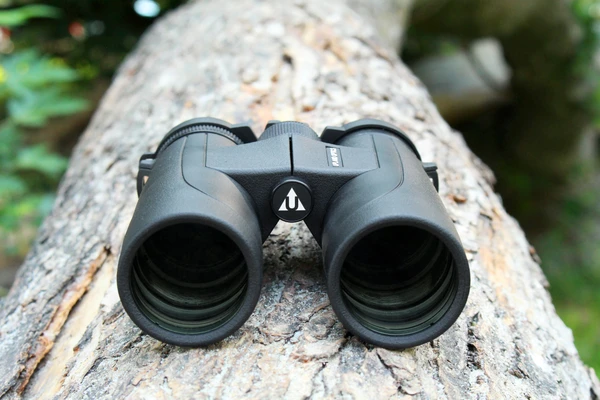
Binoculars
Look! There’s a bird perched high up in that tree. One way to look at it a little more closely is by using a pair of binoculars. Binoculars are tools that have two lenses for your eyes that help magnify your vision.
How to Use Binoculars
- First, focus on the object you want to see more closely with just your eyes. Then, slowly raise the binoculars to your eyes.
- Adjust your binoculars. If it is blurry when you look through the lenses, you can adjust your binoculars to make them more clear. Your binoculars should come with a set of instructions on how to do this – often there is a knob at the top or around the lenses you can rotate.
- Use binoculars only when standing still, not walking – you could trip and fall! Make sure to never look at the sun through your binoculars – this could cause permanent damage to your eyes.
Magnifying Glass or Hand Lens
These tools help us see details up close- like the scales on a butterfly wing, tiny hairs on a fuzzy plant, or tiny organisms swimming around in the water! Peer into a magnifying glass or hand lens and see what you can find.
Good places to find these tools:
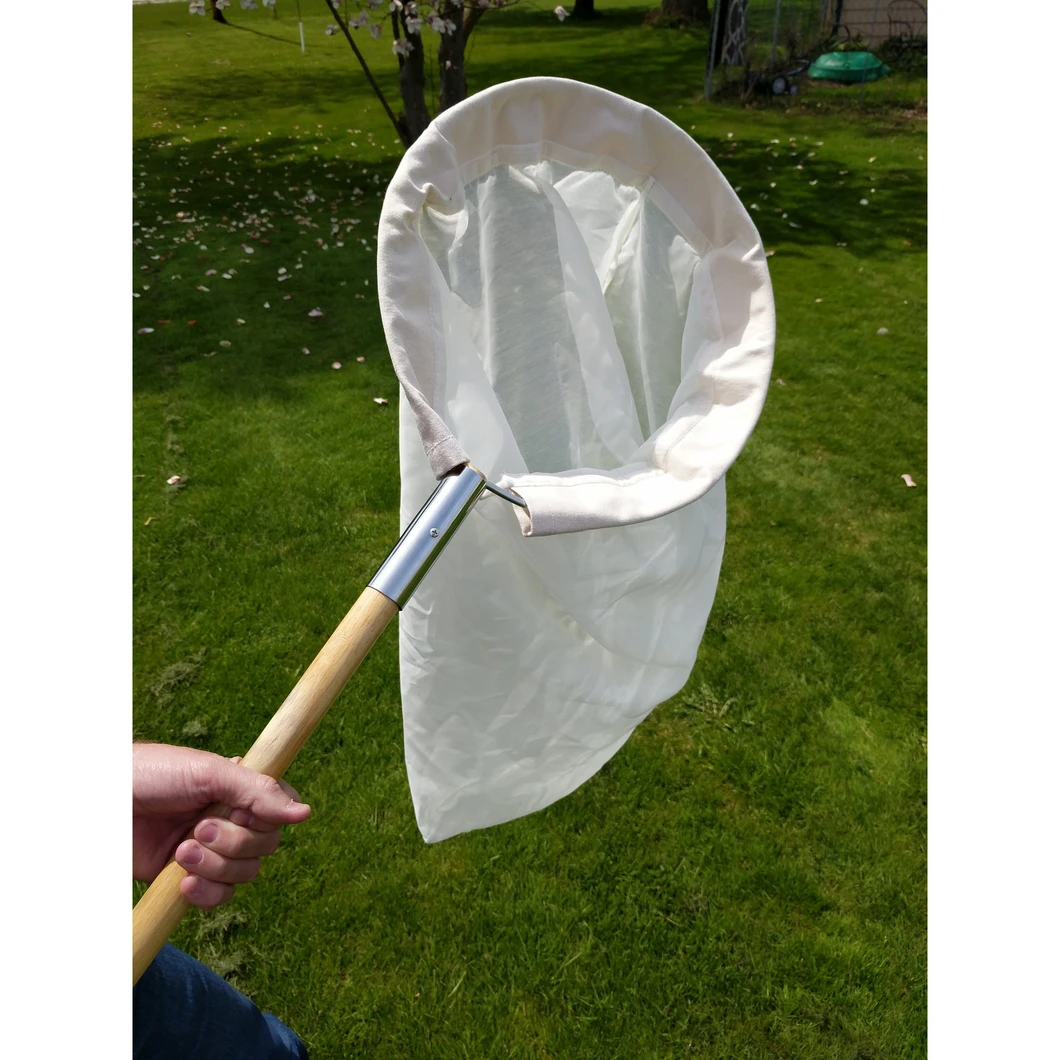
Gettin’ Buggy!
Watch a spider spinning its web, follow a butterfly from flower to flower, or watch a worm wriggle in the dirt! There is so much to learn about these tiny creatures – they are not to be overlooked!
There are ways we can safely look more closely at insects. An insect net is a tool that helps you safely capture insects so that you can make observations. You can carry some small jars with holes in the lid or sides to create a temporary home for the insect while you take a closer look. It is always better to just look with our eyes when we find insects, but if we are careful, we can use these tools to get a better understanding of our six-legged friends.
Remember! Never pick up or touch an insect you are not familiar with. Make sure to be gentle when using your net to observe living creatures. Always release insects in the same place you found them after you are done making observations!
Now your bag is all packed and you’re ready to explore!
- Your senses, curiosity, and excitement will help you make observations and discoveries on your way.
- Your field guides will help you go deeper and learn more about plants and animals that you find.
- Your insect nets will encourage you to notice the similarities and differences between the insects you may see.
- Your binoculars, hand lens, or magnifying glass will give you an up close view of nature.
- Your journal will help you record your findings, take notes, draw pictures, and ask questions about the things you find along the way!
Who knows what wonderful surprises you’ll find out in nature?
Post by: Ellen