activities for kids

How to Make a Plant Press
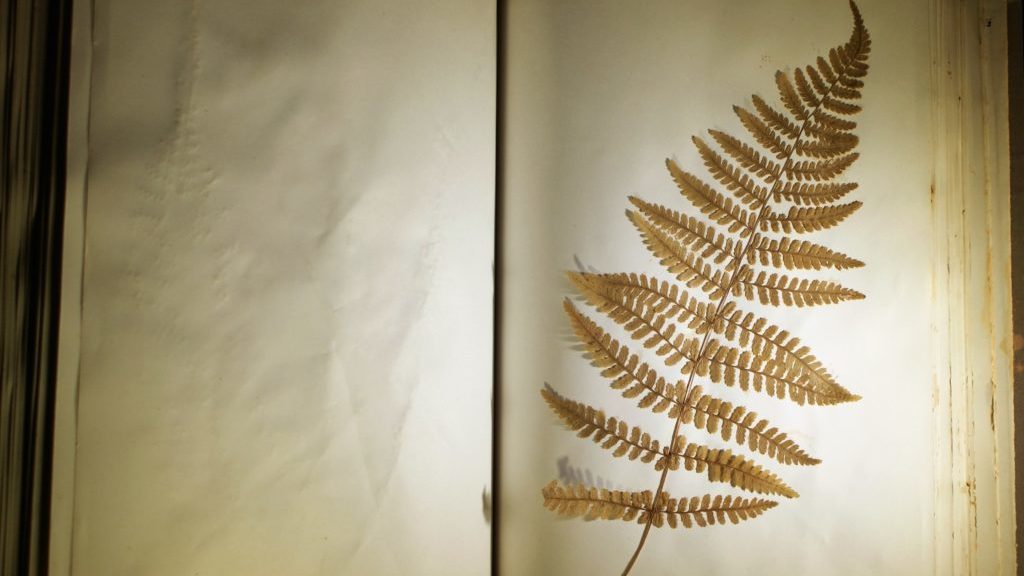
Flowers are fleeting, but you can make them last for years by pressing them. In this video you can learn how to make your own plant press to preserve flowers or plants for years to come. You can also use pressed plants for a variety of art projects such as making cards, collaging, or encasing them in resin!
Resources
Explore the museum’s herbarium collection of pressed plants in our Collections Close-Up blog: Herbarium Highlights and Fern Fever.
Summer Solstice Sun Prints
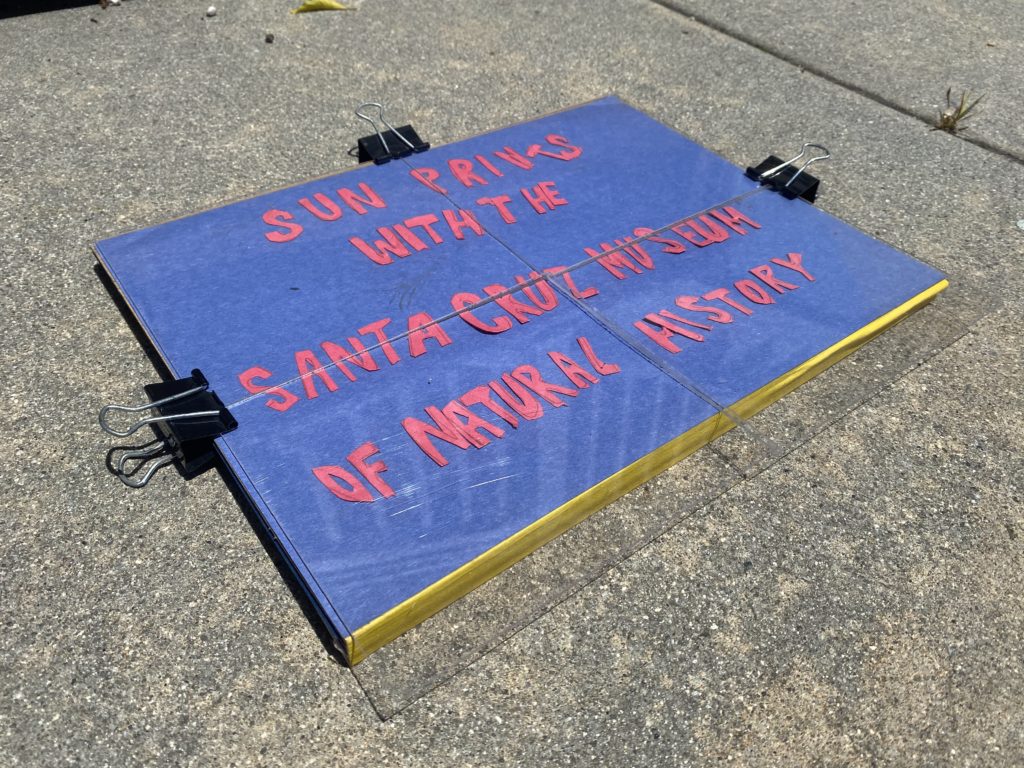
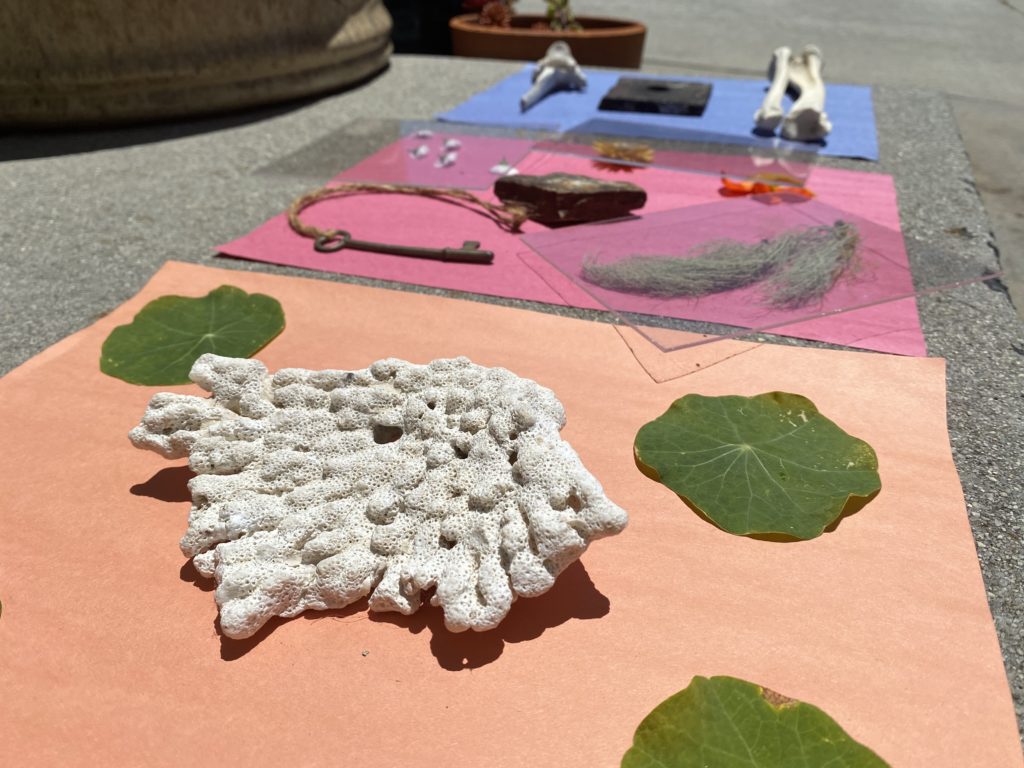
Happy Summer Solstice! What better way to celebrate than creating art with sunlight? Follow along and harness the power of the sun to create your own sun prints using objects found in nature, construction paper, and sunlight.
Astronomically, the June solstice marks the first day of summer for the Northern Hemisphere, but many cultures consider this event to signal midsummer. This year, solstice occurs at 2:34 p.m. PDT on Saturday, June 20, 2020, which is the exact moment that the Earth’s North Pole is leaning most toward the sun.
Materials:
Construction paper
Nature objects
Optional:
Saran wrap
Plexiglass
Tape
Scissors
- Place object(s) on construction paper. If your object is heavy, like a rock, move on to step two! If it is lighter, like a feather or leaf, you may want to tape it down (masking tape works best), or put a piece of saran wrap or plexiglass over the paper (glass won’t work because it will block the UV rays from the sun, which we need to make our prints). You can also cut paper into shapes and tape them to your construction paper.
- Place paper under the sun. Since we’re doing this on the solstice, we’ll have many hours of daylight — more than any other day of the year! Hopefully we also have sunny skies with few clouds, which will make our project go faster. If not, however, that’s okay. Just leave your paper out longer. Give your project at least two hours in the sun. Place your paper on the ground and make sure everything is secure so that the wind won’t blow anything away.
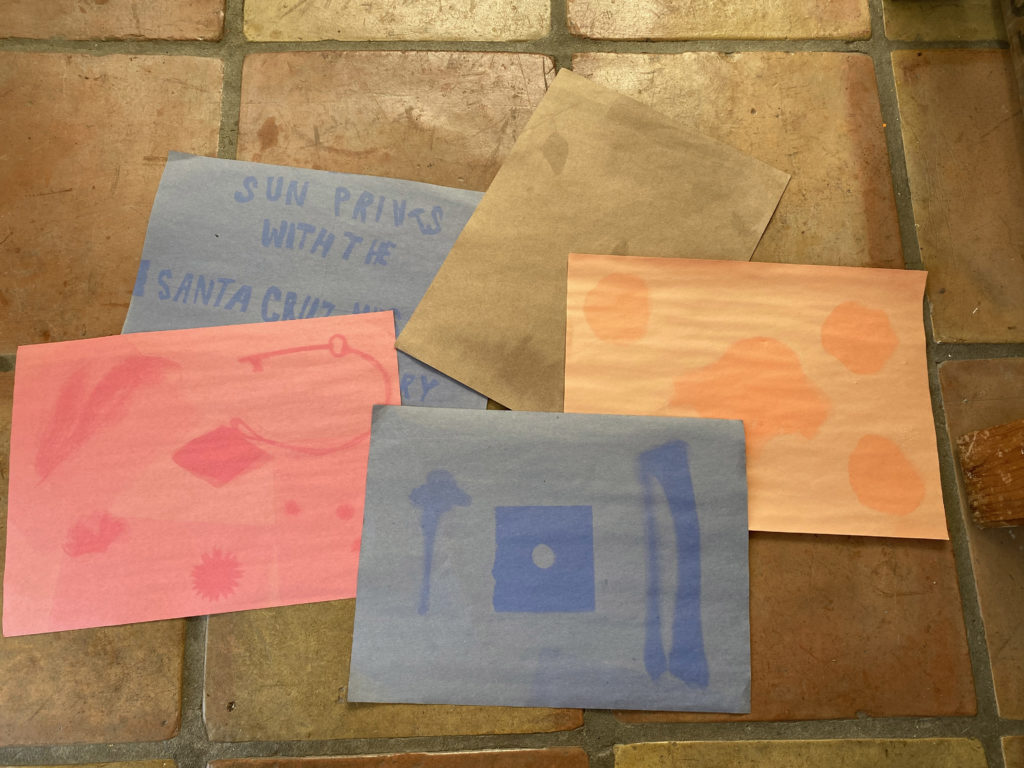
- Remove objects and enjoy your artwork! Why do you think the sun changed the color of the paper? Why did the paper not change color where the objects were placed?
Post by Marisa
Observation Jar Activity
Look all around you – how are the things we see around us different from each other? How are they the same? Scientists put things into groups based on their observations of similarities and differences. Why do you think this is?
Today we are going to do some scientific sorting using objects you can find around or outside of your house. We’ll make observations, explore the different ways we can group objects together and create a jar full of our fun finds!
Preparation
What you will need:
- A clear jar or bottle.
- You can reuse a plastic water bottle, pasta sauce jar, or any kind of clear container that you can find
- At least 4 different found objects
Procedure
1. ) It’s time to collect some objects!
- Make sure to take a trusted adult with you if you choose to leave the house!
- We don’t want to put any living creatures in the jar. Make sure to check for tiny insects on any of your objects before putting them in the jar if you collect things from outside your house.
- Try to gather things that are different sizes, shapes, and colors.
- Some ideas could include: rocks, leaves, coins, small toys, flowers, shells, buttons, or small sticks.
2. ) Now that we’ve collected our objects, let’s take a little bit of time to look more closely at the things we found before we put them in our jar. See if you can answer the following questions about your objects!
- How many things did you find? I found _____________ things.
- Pick one object that catches your eye and see what you can notice about it. See if you can answer these questions about the thing that you found!
- What do you notice about it? What do you wonder about it? What does it remind you of?
- You can also think about…
- Where did you find it?
- What color is it?
- What does it feel like in your hand?
- How big is it?
- Take a look at all the objects that you found. Can you find any similarities between them? Try to find at least two things that are similar about your objects.
- Try sorting your objects into different categories by putting them in different piles. Can you sort your objects by….
- Color?
- Size?
- Types of things (plant, rock, toy, flowers)?
- Which object is the heaviest? Which is the lightest?
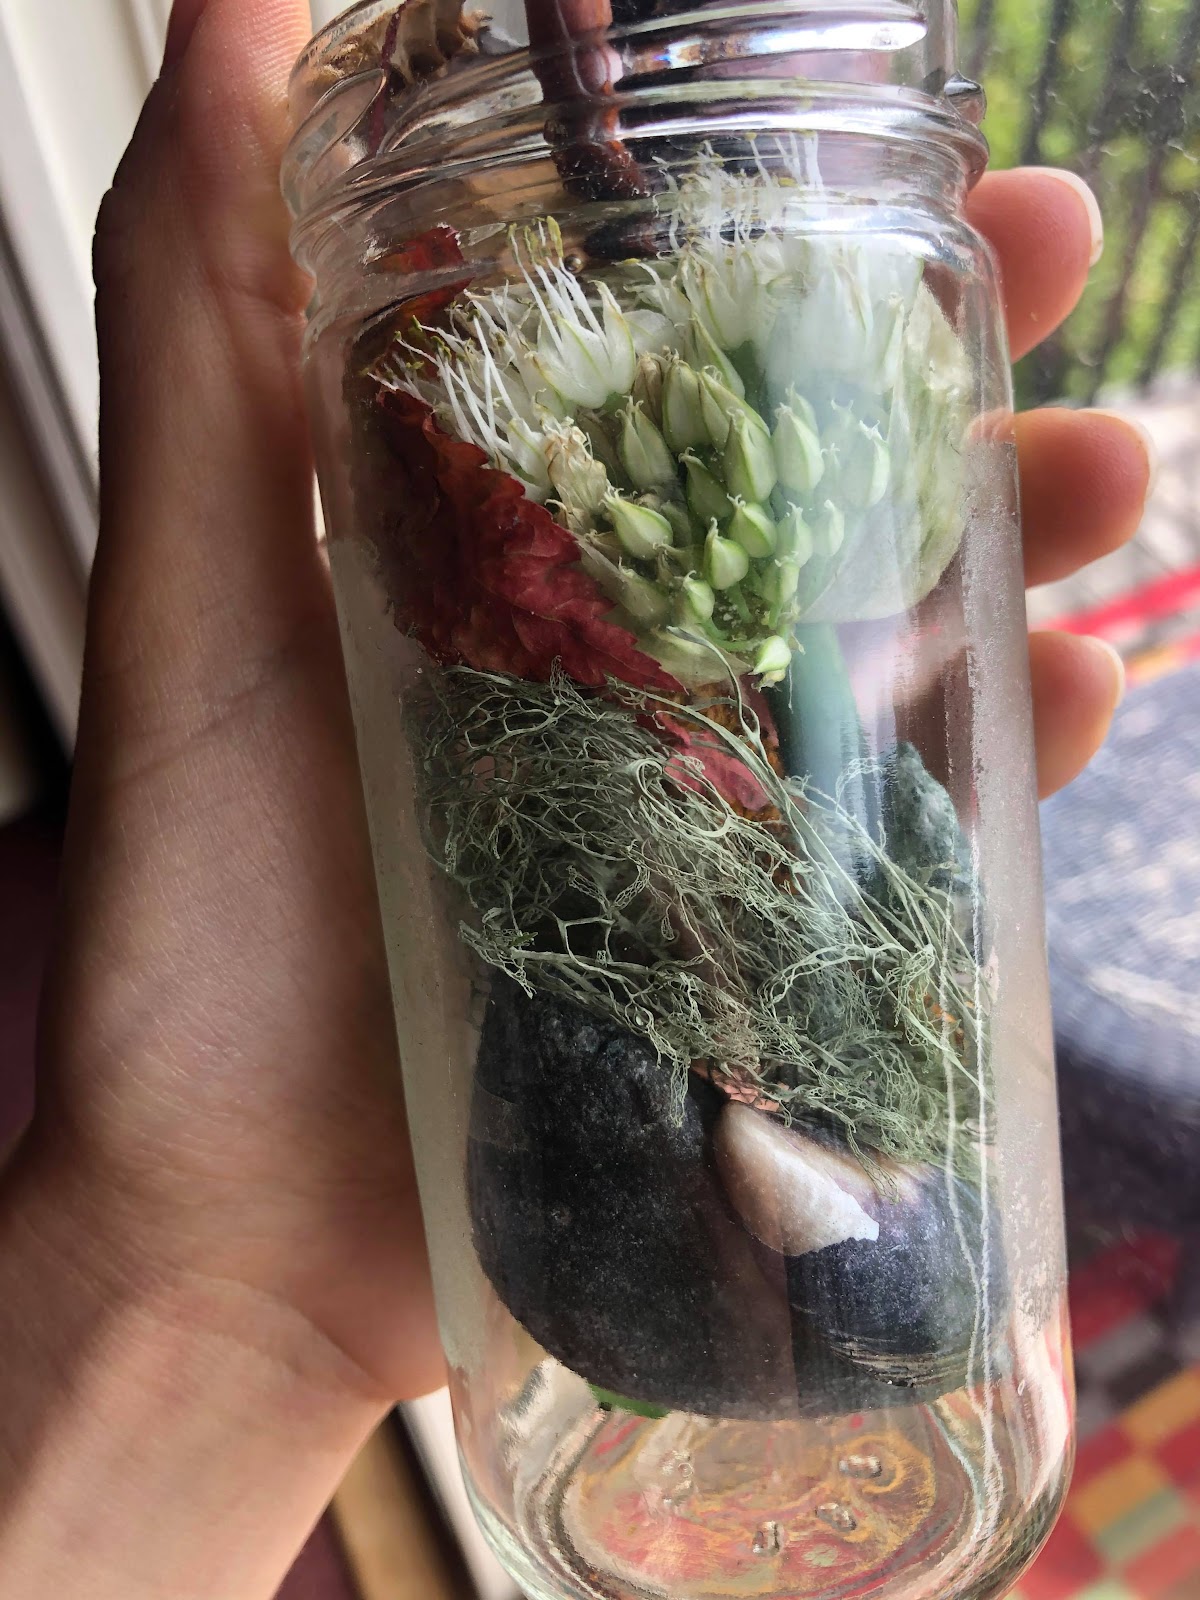
3.) Now you are ready to fill up your jar! Layer your items based on how you sorted them. You can always take your objects out of the jar if you think of fun new ways to sort your items. Or, you can put all the things you found right back where you found them.
If you chose objects like flowers and leaves, you may want to put them at the top of your jar so that they don’t get crushed by heavier objects!
Wrap-up questions
Can you think of some other ways you could group your objects together?
What do you think we can learn when we sort objects or living organisms?
Post by Elise
Mini Museum Activity
Museums might be closed but in this video you can learn to make your own natural history museum at home! Include a favorite exhibit from the Santa Cruz Museum of Natural History as well as your own curations.
Post by Elise.
How To Draw a Flower Video
Do you enjoy looking at flowers? What do you want to learn about flowers? Use this step-by-step guide to learn about the different parts of a flower through illustration. Afterwards you will be able to identify perfect and imperfect flowers.
Explore more about plants with the resources in our Online Museum Store.
Post by Elise
Light Spectra Activity
Discover some amazing properties of light with our Light Spectra Activity. Make your own scientific tool to see light in a new way–and figure out components of different sources of light!
Additional Resources:
Phenology Wheel Activity
All around us, things are constantly changing. Spring rains come and bring new flowers, baby birds are hatching from eggs, and new green leaves emerge on trees. Can you think of some ways you have observed changes in nature?
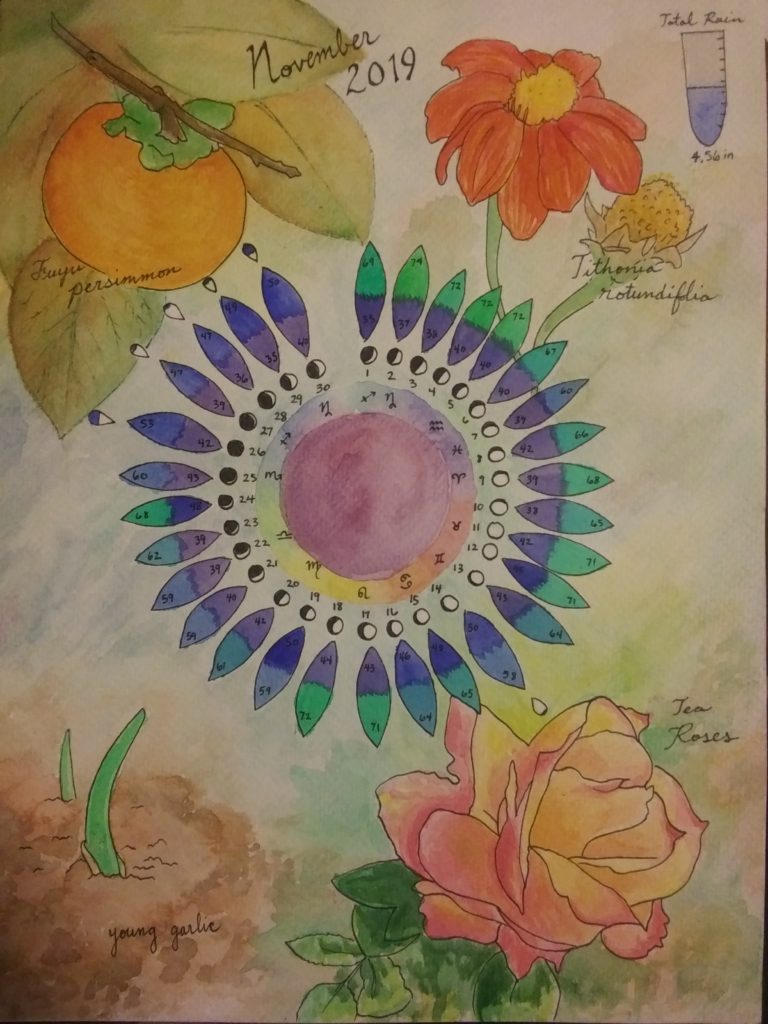
- Phenology is the study of cycles and patterns in nature. You can practice phenology by making observations in nature and noticing how things change over time! Create a phenology wheel of your own as a tool to record your observations about a natural phenomenon in your own life!
- A phenology wheel is simply a way to keep track of the observations you are making about your chosen subject in nature.
- Here is a detailed guide for creating your own wheel.
- Or you can use this template!
- To use the wheel, spend some time making observations in nature for a day, week, month, or even an entire year! You can focus on one species or a special spot outside your window or place of your own choosing
Here are some prompts to help inspire you to create your own wheel! Check out the detailed guide below for even more ideas.
- Look outside your window each day for a week. What do you notice? What has changed?
- Look up at the sky! Each night, record your observations of the moon throughout its phases on your phenology wheel.
- What’s the weather? Track the weather where you live for a week/month/year.
- Do you see any animals regularly near your home? Such as a bird? What do you think it is doing?
Activity Guide: Creating Your Own Phenology Wheel (Spanish Version) (PDF)
Watch our Phenology Wheel Video.
Post by Ellen
May Day Flower Crown Video Tutorial
In honor of the halfway point between the start of spring and the start of summer, make an ecologically conscious flower crown.
Post by Marisa
Nature Journal from Your Window
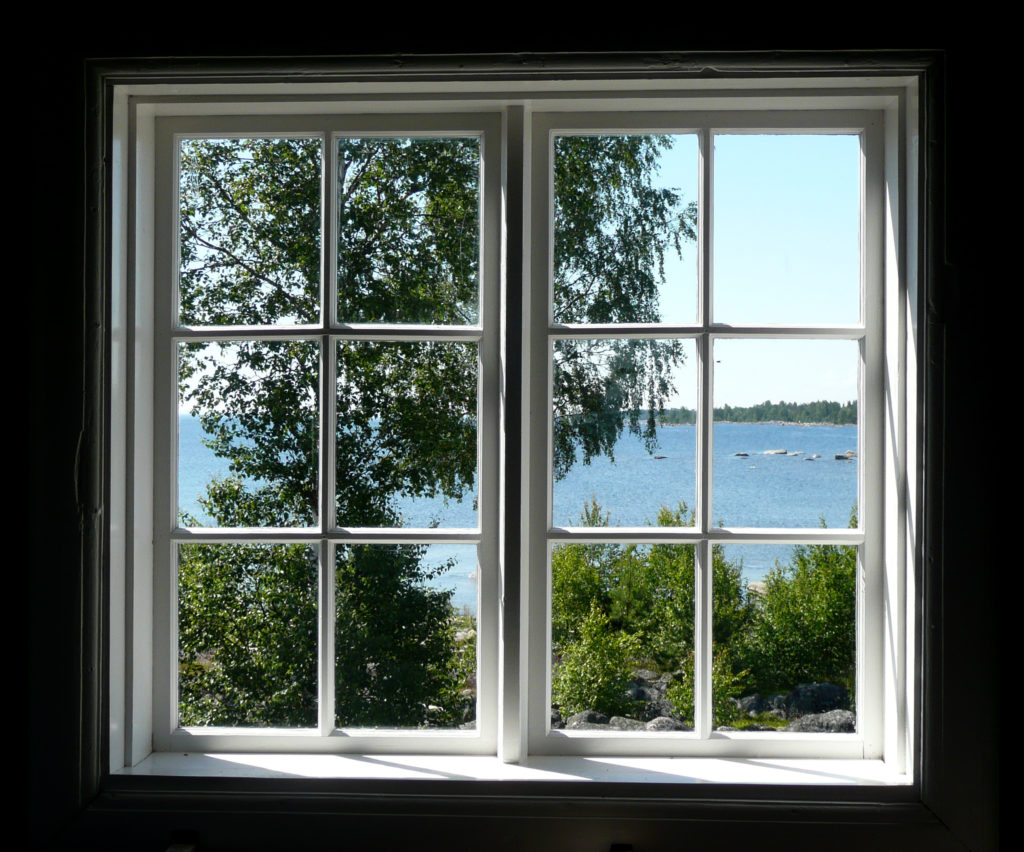
Spending time outside can help you feel connected to nature, but there are ways to connect to nature without leaving your house. Find a comfy spot to sit near a window and take 20 minutes to gaze out at the world. What will you notice during this time?
Capture a moment in time out your window through writing, questioning, and drawing. For further instructions, follow along with the activity guide.
Explore these other posts about journaling:
- Nature Awareness Guide (PDF | HTML)
- Sound Map Activity
- Create You Own Field Guide
- Science Illustration Prompt: Sequential Observations
Post by: Elise