There’s more to sourgrass than its lip-puckering powers. Dig a little deeper with this natural dye video tutorial.
Sourgrass (Oxalis sp.) is a plant of extremes: children love its strong flavor, pollinators gorge on its abundant nectar, many adore its ability to overwhelm a field when in bloom, and many still detest the invasive qualities of some of its species. Oxalis pes-caprae, native to South Africa, has made itself comfortably at home in California, forming dense mats that outcompete native plant species for light and space.
Whether you love it or can’t stand it, sourgrass has an interesting hidden quality that is both useful and exciting: it dyes fabric a vibrant, neon, highlighter-yellow color. Watch our video tutorial to learn how to play with its pigment and explore more resources below:
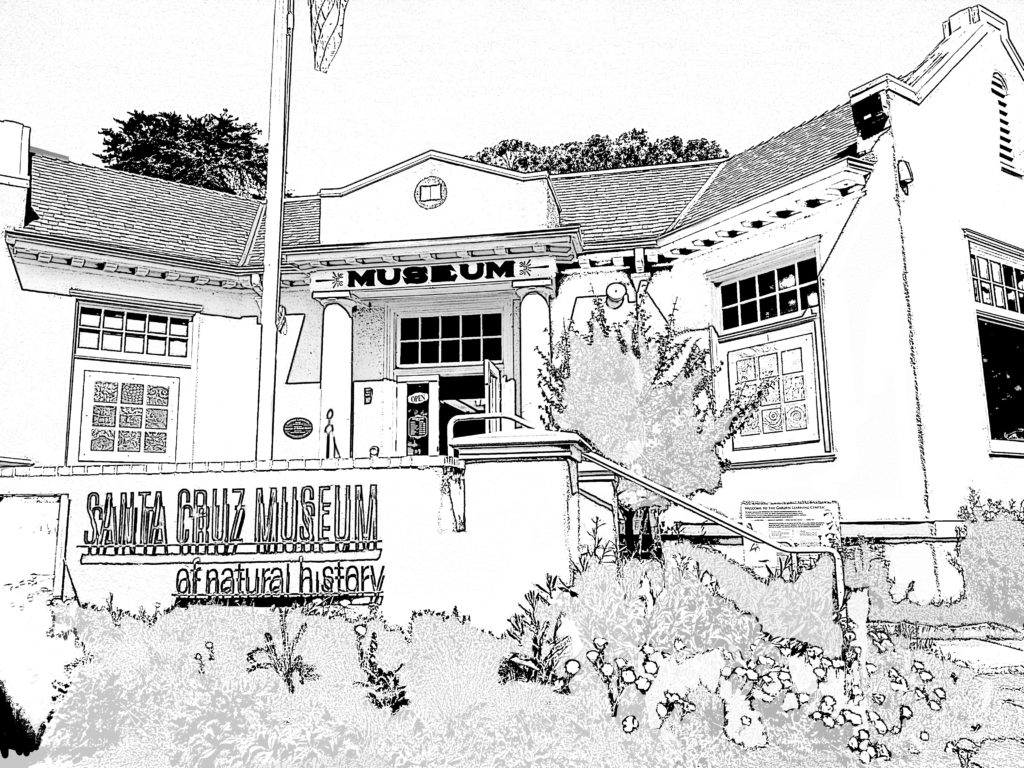
Take a tour through the Santa Cruz Museum of Natural History with our Museum coloring book! This booklet features many of our favorite exhibit features – from our tide pool and sea cow skeleton to our observation honeybee hive. Learn fun facts and bring some color into your Museum favorites!
Explore science illustration with artists featured in our annual exhibit, The Art of Nature, and get tips for how to make your own science illustrations at home. This post is from Megan Gnekow, recipient of the Museum’s 2019 Laura Hecox Naturalist Award.
I make scientific illustrations because I want to inspire folks to look closely at the world around them. I want to make complexities and relationships more clear, helping people understand that all organisms are connected to each other. — Megan Gnekow
Prompt: Sequential Observations
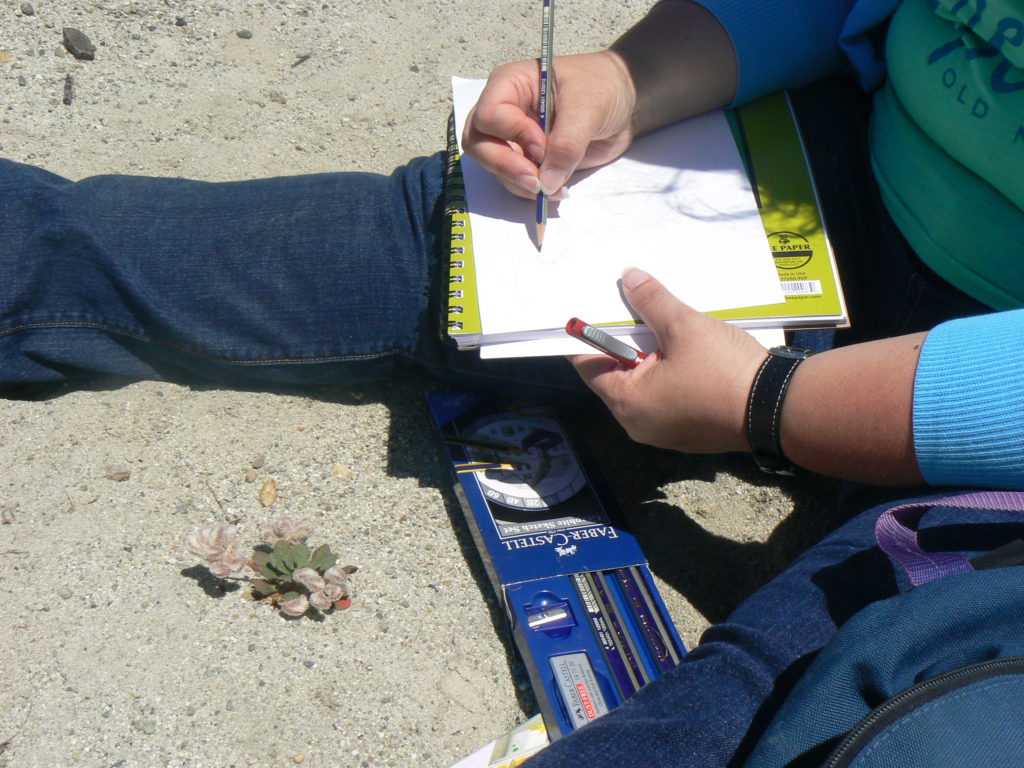
There are so many great ways to use a nature journaling project to connect to your local habitat(s). One of my favorites is sequential observations — making notes and sketches about an organism you observe over time. Spring is a great time to do this because there are so many visible changes happening in our environments.
Choose an organism that you can observe regularly over a period of time (the period of shelter-in-place is a good place to start!). Observe the organism you have chosen as frequently as you are able to and make notes and sketches about what you observe. Note date, time, location (macro-habitat and micro-habitat). Use as many of your senses as you can and record what you learn!
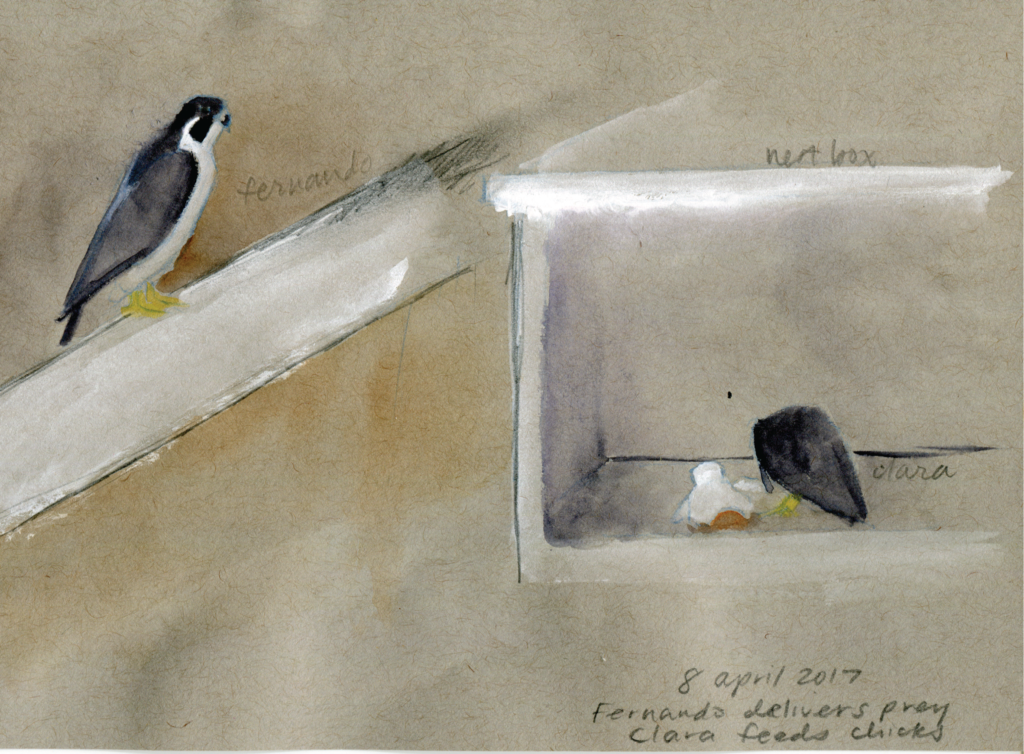
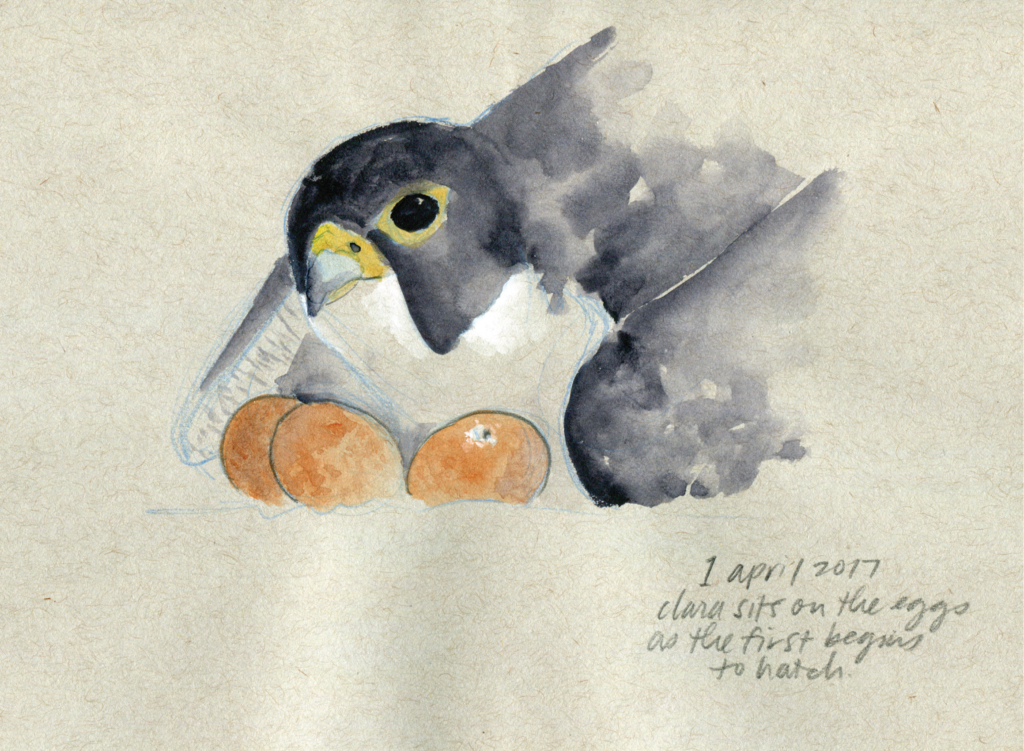
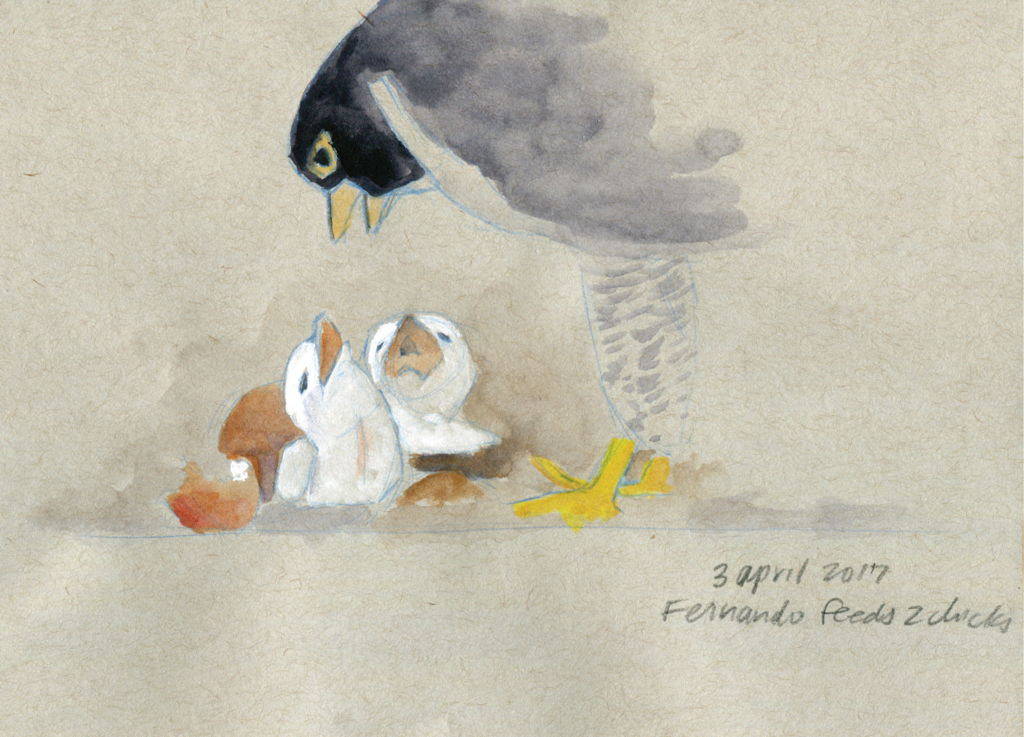
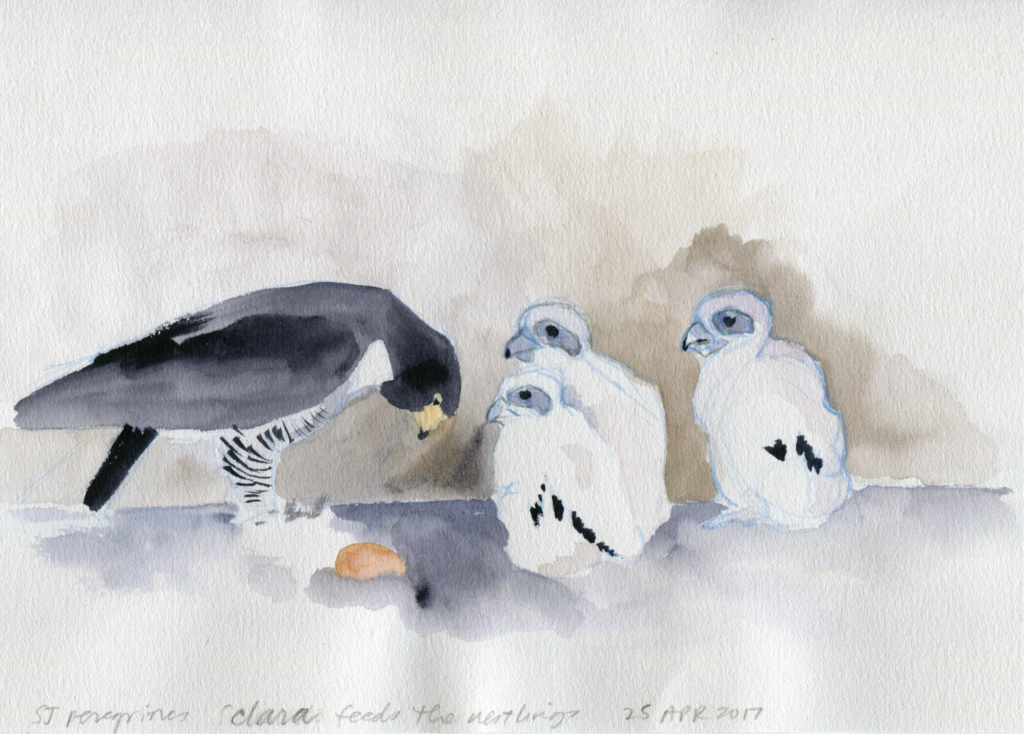
Illustrations by Megan Gnekow using the San Jose City Hall peregrine falcon nest camera hosted by the Predatory Bird Research Group in 2017.
Recording your observations over time gives you insights into an organism and the environment in which it lives. Hopefully this plants a seed for further observations and exploration. Don’t worry about making beautiful drawings. Just sketch and/or note what you observe!
If you can’t get outside or have other limitations to observing organisms, there are plenty of webcams available to inspire you — I would suggest a bird camera hosted by the Cornell Lab of Ornithology or the falcon cam at UC Berkeley.
Read more about Megan Gnekow here and visit her website here. Explore all of her illustrations from this peregrine falcon series here.
Creating a field guide is a great way to become an expert on a location. It is also a great way to share information with others. Choose a location to become an expert on! It can be your backyard, neighborhood, or any other outdoor spot that interests you. Once you have chosen your spot you may choose to focus on plants, animals, or both! Depending on how much time you have and what makes you most excited about learning.
Record your observations with writing, drawing, or by taking pictures.
Step 1: Bioblitz!
Before you can make a field guide, you have to know what lives in your spot–start with a bioblitz! A bioblitz is when you try to find and identify all the species in a certain area over a short period of time. Bring with you a camera or journal to record what you find. You may also bring along field guides, or a smartphone to look up things on the go. Another option is to take pictures or sketch organisms you find outside to look up later.
On your bioblitz it is important to pay close attention to everything. Taking pictures or drawing what you find will be a helpful resource to look back on.
After the bioblitz you can do research using the online resources listed below to identify species that you don’t know. Once you have identified all the species you can start creating your field guide!
Making your field guide
Choose your materials. Your field guide can be handmade with pen and paper or it can be typed on the computer. If you make it on the computer, it will be easier to share with others via email or posting on social media.
Organize your field guide to make it user friendly.
Make a table of contents and include page numbers
If you chose to include both plants and animals you should group those accordingly (plants in one section and animals in the other)
Having images or a detailed description of what the species looks like
Information or facts about the species such as where it is found, what it does, and what seasons it is around.
When you finish your field guide, share it with your community! Then others can use your field guide to learn about creatures and plants in Santa Cruz. “In the end we will conserve only what we love, we will love only what we understand, and we will understand only what we are taught”- Baba Dioum